Peppermint & Marshmallow Tart Recipe
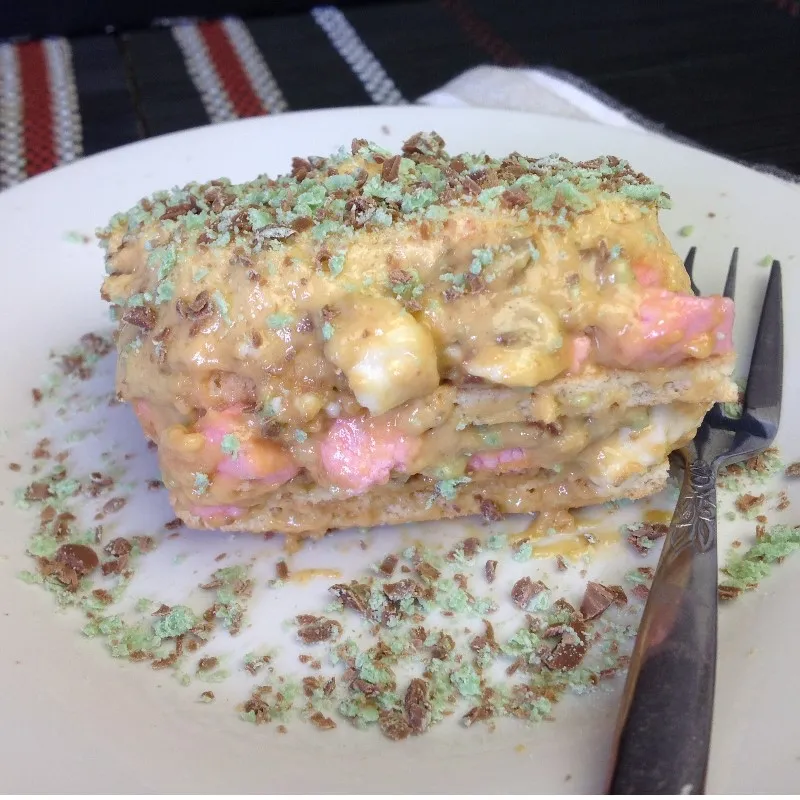
Layers of minty chocolate, fluffy marshmallows, and creamy caramel filling make this no-bake tart an absolute crowd-pleaser. Sweet, soft, and a little indulgent — it’s the perfect make-ahead dessert for any occasion.
Video
Ingredients
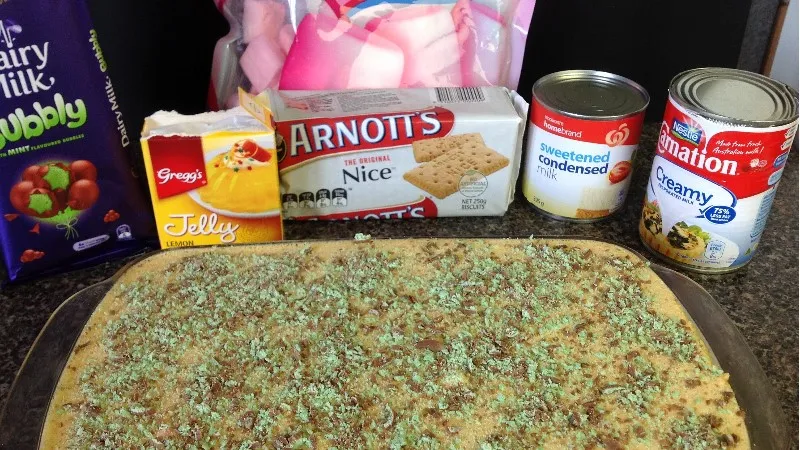
1 tin Caramel Condensed Milk
1 tin Evapourated Milk
1 slab Peppermint Chocolate
1 cup Water boling
1 cup Marshmallows
1 pkt Lemon Jelly
2 pkts Plain Biscuits
Instructions
- This recipe makes enough for two 22cm x 22cm tarts.
- In a heatproof bowl, dissolve 1 packet lemon jelly in 1 cup boiling water. Stir well and set aside to cool to room temperature.
- Cut 1 cup marshmallows into small pieces.
- Place a single layer of plain biscuits from 2 packets into the base of each 22cm x 22cm glass dish.
- In a large mixing bowl, combine 1 tin caramel condensed milk with the cooled jelly mixture.
- In a separate bowl, whip 1 tin evaporated milk until thick.
- Gently fold the whipped evaporated milk into the caramel condensed milk mixture and beat lightly until well combined.
- Grate 1 slab peppermint chocolate.
- Add the marshmallow pieces and half of the grated chocolate to the milk mixture, stirring gently.
- Pour about 1/4 of the mixture over the biscuit layer in each dish.
- Add another layer of plain biscuits, then top with another layer of the milk mixture.
- Sprinkle the top with the remaining grated peppermint chocolate.
- Refrigerate for 4–5 hours or until fully set before serving.
Hints & Tips
- Chill your evaporated milk – For best results, place the evaporated milk in the fridge overnight before whipping so it thickens more easily.
- Use fresh peppermint chocolate – A freshly opened slab will have a stronger mint aroma and better flavour in the tart.
- Cut marshmallows evenly – This helps them distribute more evenly through the tart mixture for consistent texture in every bite.
- Don’t rush the chilling time – Give the tart the full 4–5 hours in the fridge so it sets firmly before serving.
- Make ahead for parties – This tart keeps well for up to 2 days in the fridge, making it perfect for prepping in advance.
Pin Me

Gallery
Made this recipe? Add your photo below:


